What counts as a seam on PPF?
Any place a piece of film ends. Owners call them all seams, but there are four different kinds of line, each with its own cause.
| Line | Where you’ll find it | Why it’s there |
|---|---|---|
| Panel edge | At the gap between two panels, such as hood and fender | Each panel gets its own piece |
| Stop line | Partway across a panel | A partial package ends there |
| Relief cut | Usually on a bumper, at a tight curve or recess | A small slit lets the film lie flat |
| Join | Where two pieces meet on one large or complex panel | The pattern splits a shape one piece can’t follow |
A relief cut is the line most worth talking through before the job, because it’s a deliberate slit rather than the natural end of a piece. The glossary entry on wrapped edges explains the opposite technique, where the end of the film is folded around the panel’s edge and out of sight.
Why can’t one sheet of film cover a whole panel without breaks?
Often it can; the trouble is the shapes that bend in two directions at once. Film comes off a roll as a flat sheet, and a flat sheet laid over a compound curve has more material than the surface needs.
3M’s installation guidelines for its own film show what installers deal with: on a hood, the steps include anchoring four corners and “stretch out any fingers”, the wrinkles of spare film that bunch up at curves. Over complex curves, 3M has installers activate the adhesive and hold the film in place while it grabs. Where a shape is too deep for the film to stretch into neatly, the pattern splits it into pieces, or adds a relief cut.
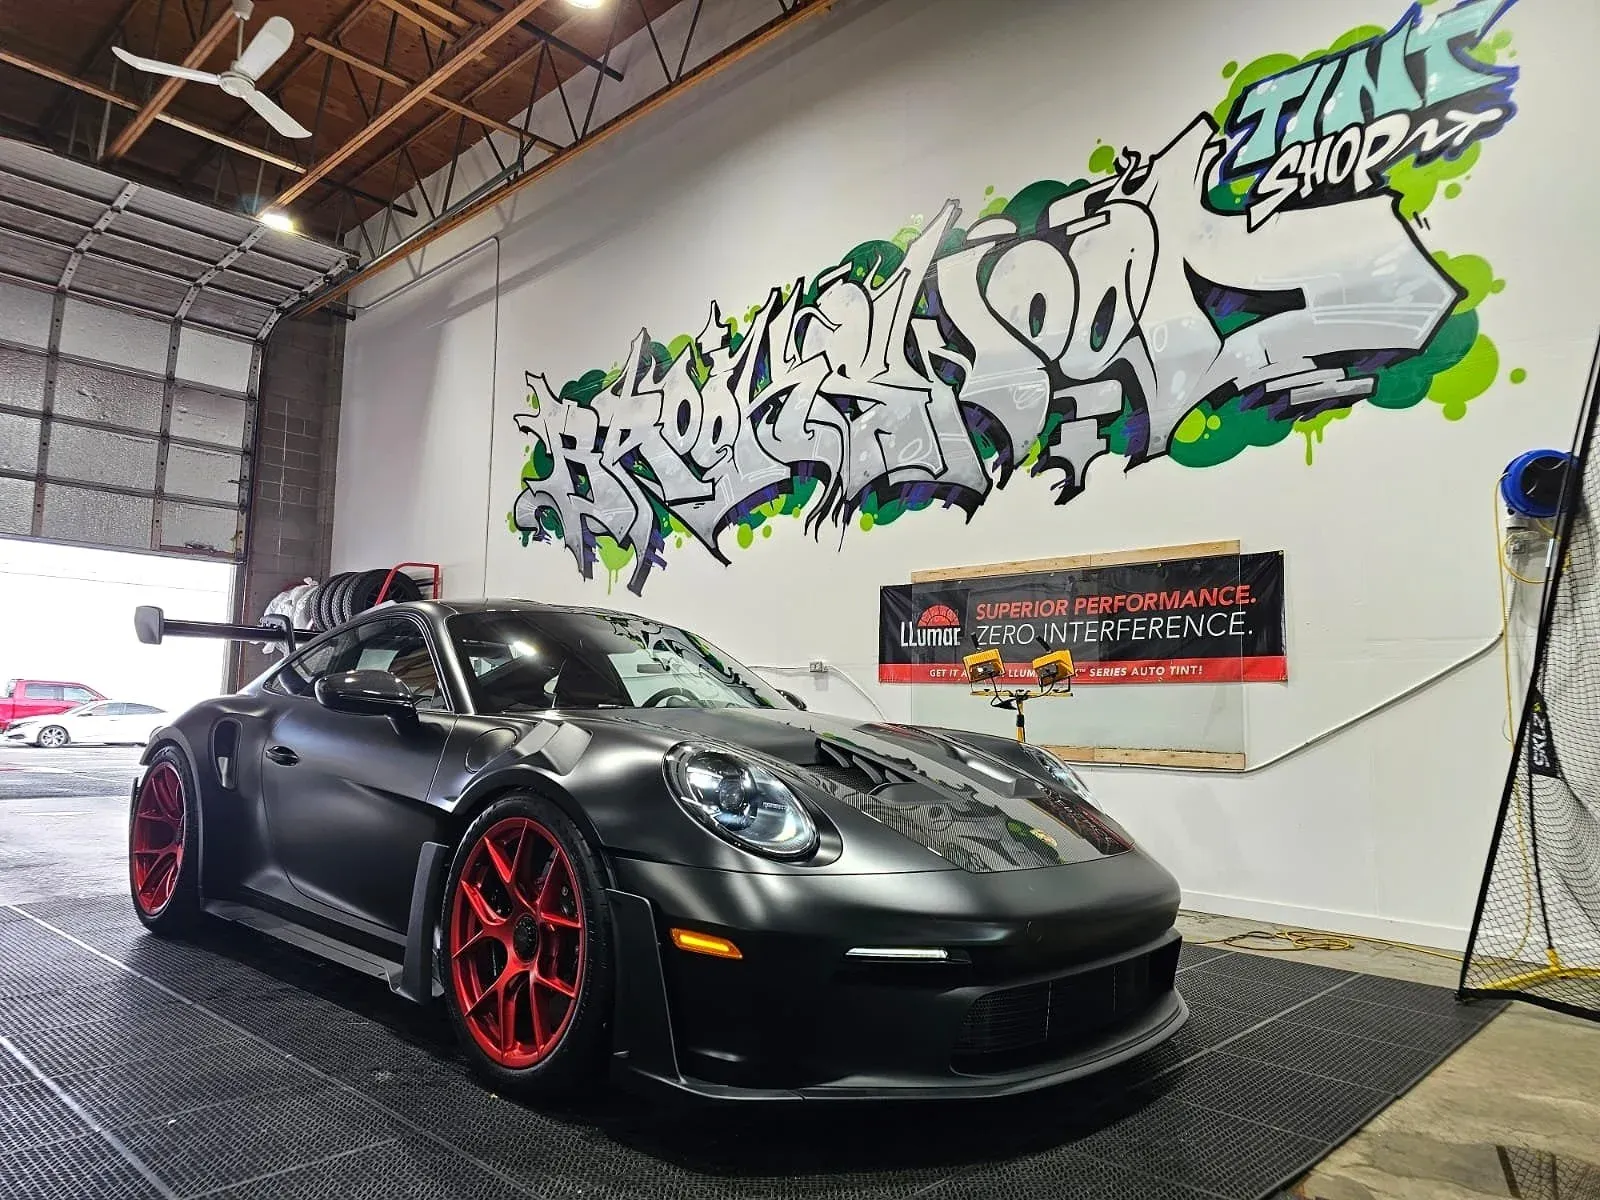
Pattern software is built around that problem. SunTek, LLumar’s sister brand, says its installers get pattern-cutting software that trims film to follow the body lines of thousands of models. Brookswood Tint cuts every piece to a software pattern made for the specific car, so that pattern decides where one piece ends and the next begins.
Where do the lines fall in each package?
It depends on how far the film reaches. The less of the car you cover, the more likely a line sits in the middle of a panel instead of at its edge.
| Package | Where the film ends | From |
|---|---|---|
| Partial Front | Partway along the hood and fenders, plus panel edges at the bumper, lamps and mirrors | $850 |
| Full Front | Where the hood and fenders themselves end, by the windshield and front doors | $1,550 |
| Track Package | As full front, plus a stop line on the roof, and edges on the A-pillars and rockers | $1,900 |
| Full Vehicle | At panel gaps around the whole car | $4,000 |
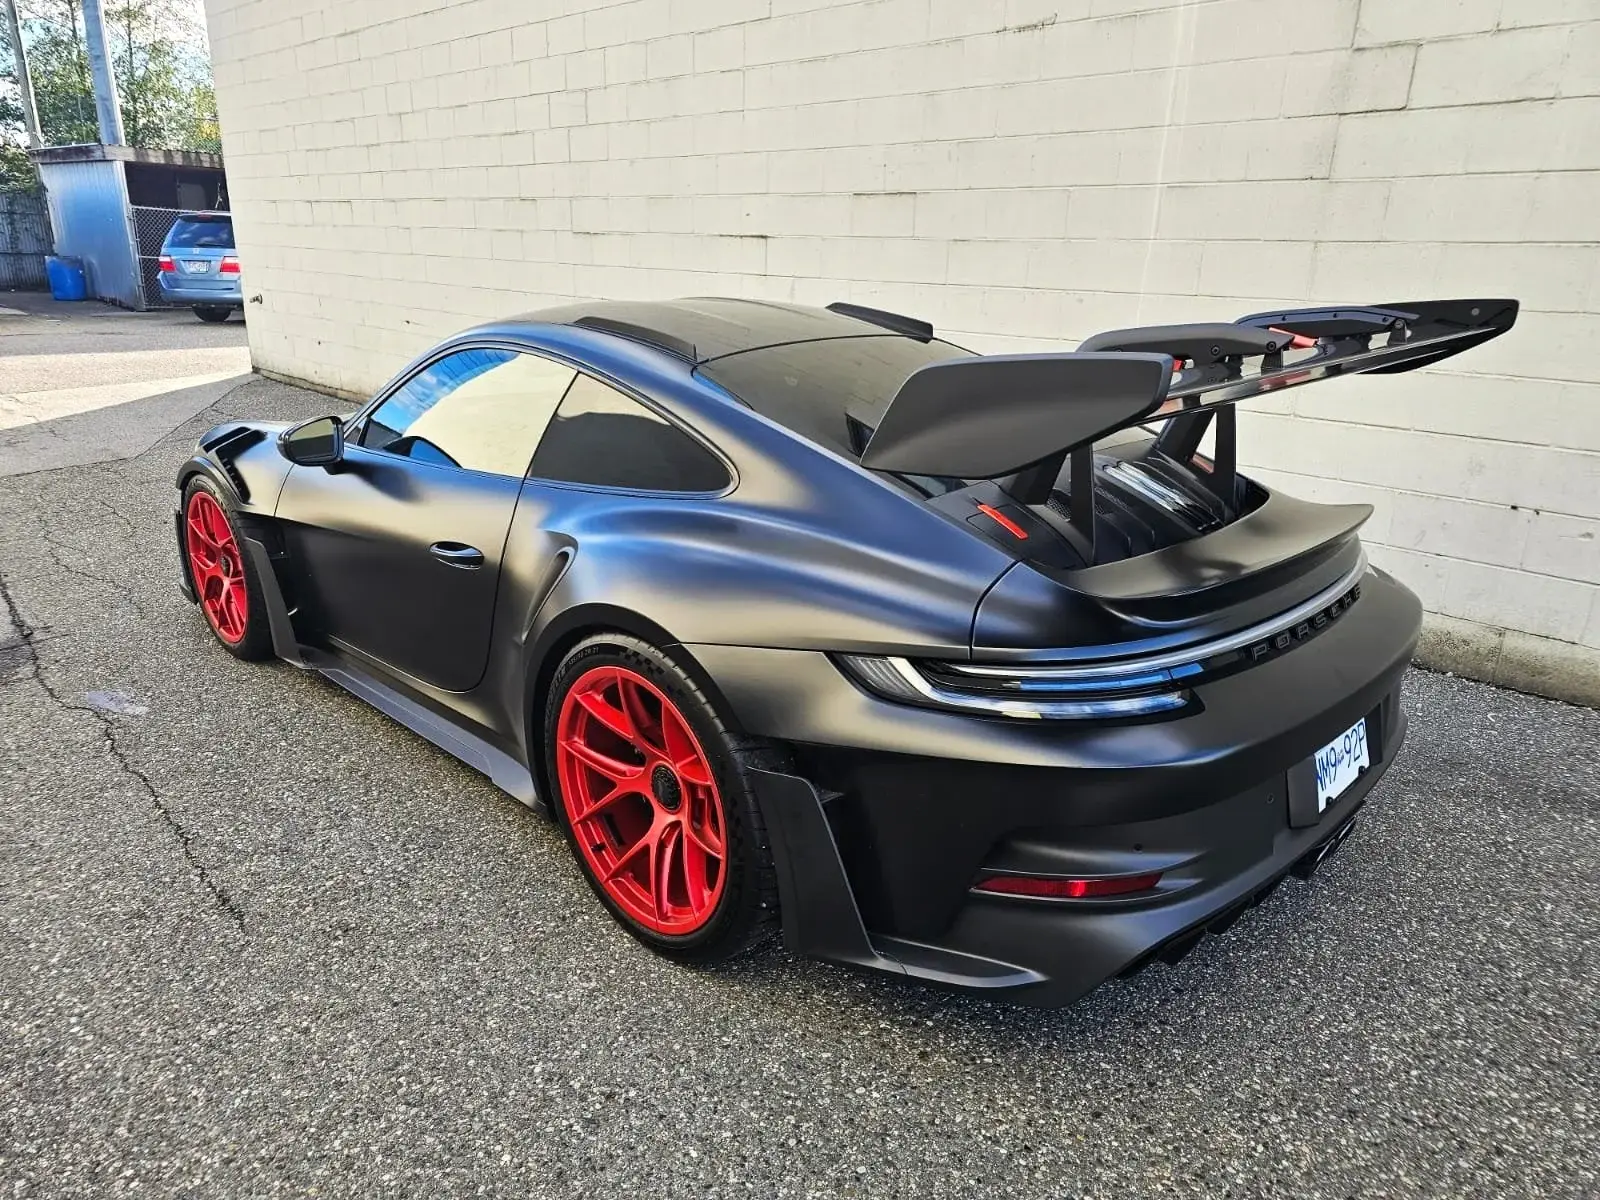
On gloss paint, LLumar says Platinum Gloss is designed to blend with the paint when only part of the car is covered, and that’s the aim with a partial front’s stop line. Matte film is a different story on a gloss car: the stop line is where satin meets gloss, and it shows. How the two front packages compare, line by line, is on partial vs full front PPF.
Is a pre-cut pattern or a bulk install better for seams?
They put the lines in different places for different reasons. A pre-cut install follows the template’s pieces; a bulk install lays an oversized sheet on the car and trims it there.
3M’s guide covers both, from plotter cutting to stretching the four corners of a sheet for “a bulk hood install.” Brookswood Tint cuts from software templates, so where the edges and any relief cuts will sit is known before the film touches the car, and the shop shows you where a relief cut will go before it starts. The other method is described in the glossary under bulk PPF install.
Do PPF edges collect dirt or lift?
They can, which is why edge care matters more than anything else about seams. An edge is where water can get under film, and where wax and grime build up.
LLumar’s PPF FAQ says lifting from pressure washers and automatic washes usually begins at the film’s edges, and its limited warranty won’t cover it. 3M’s guide is precise about the angle: never direct the water stream at 0 to 60 degrees to the edge of the film. For wax that collects in that line, 3M suggests a lint-free cloth.
Wrapped edges help, because the end of the film sits on the inside of the panel rather than facing the spray. The shop wraps edges wherever the panel allows; where the shape doesn’t, the edge stays on the face of the panel.
How do you tell good seams from bad ones?
Look for lines that are deliberate, consistent and lying flat. A good install has the same edge gap all along a panel, stop lines that run straight, relief cuts you were shown in advance, and no edge lifting or trapped dirt.
| Sign | Good install | Worth a question |
|---|---|---|
| Panel edges | Even, wrapped where possible | Wavy, short of the edge in places |
| Stop lines | Straight, same height both sides | Uneven left to right |
| Relief cuts | Few, shown beforehand | Many, or a surprise |
| Edge condition | Flat and clean | Lifting, or a dirty line under the film |
More on judging the finished job is in how to spot a bad PPF install, and what film looks like from normal viewing distance is in can you see paint protection film.
How do you get fewer visible lines on your car?
Choose more coverage and ask to see the plan. Moving from a partial to a full front moves the hood and fender lines to the panel gaps; full vehicle leaves no stop lines at all, only edges at the gaps plus any relief cuts or joins the pattern needs.
Ask where relief cuts will go before you book, and keep pressure nozzles off the edges once the film is on. Prices begin at $850 for partial front coverage in LLumar Platinum, or $1,550 for the full front. To see where the lines would fall on your own car, ask through the PPF quote page or text 604 534 6433.