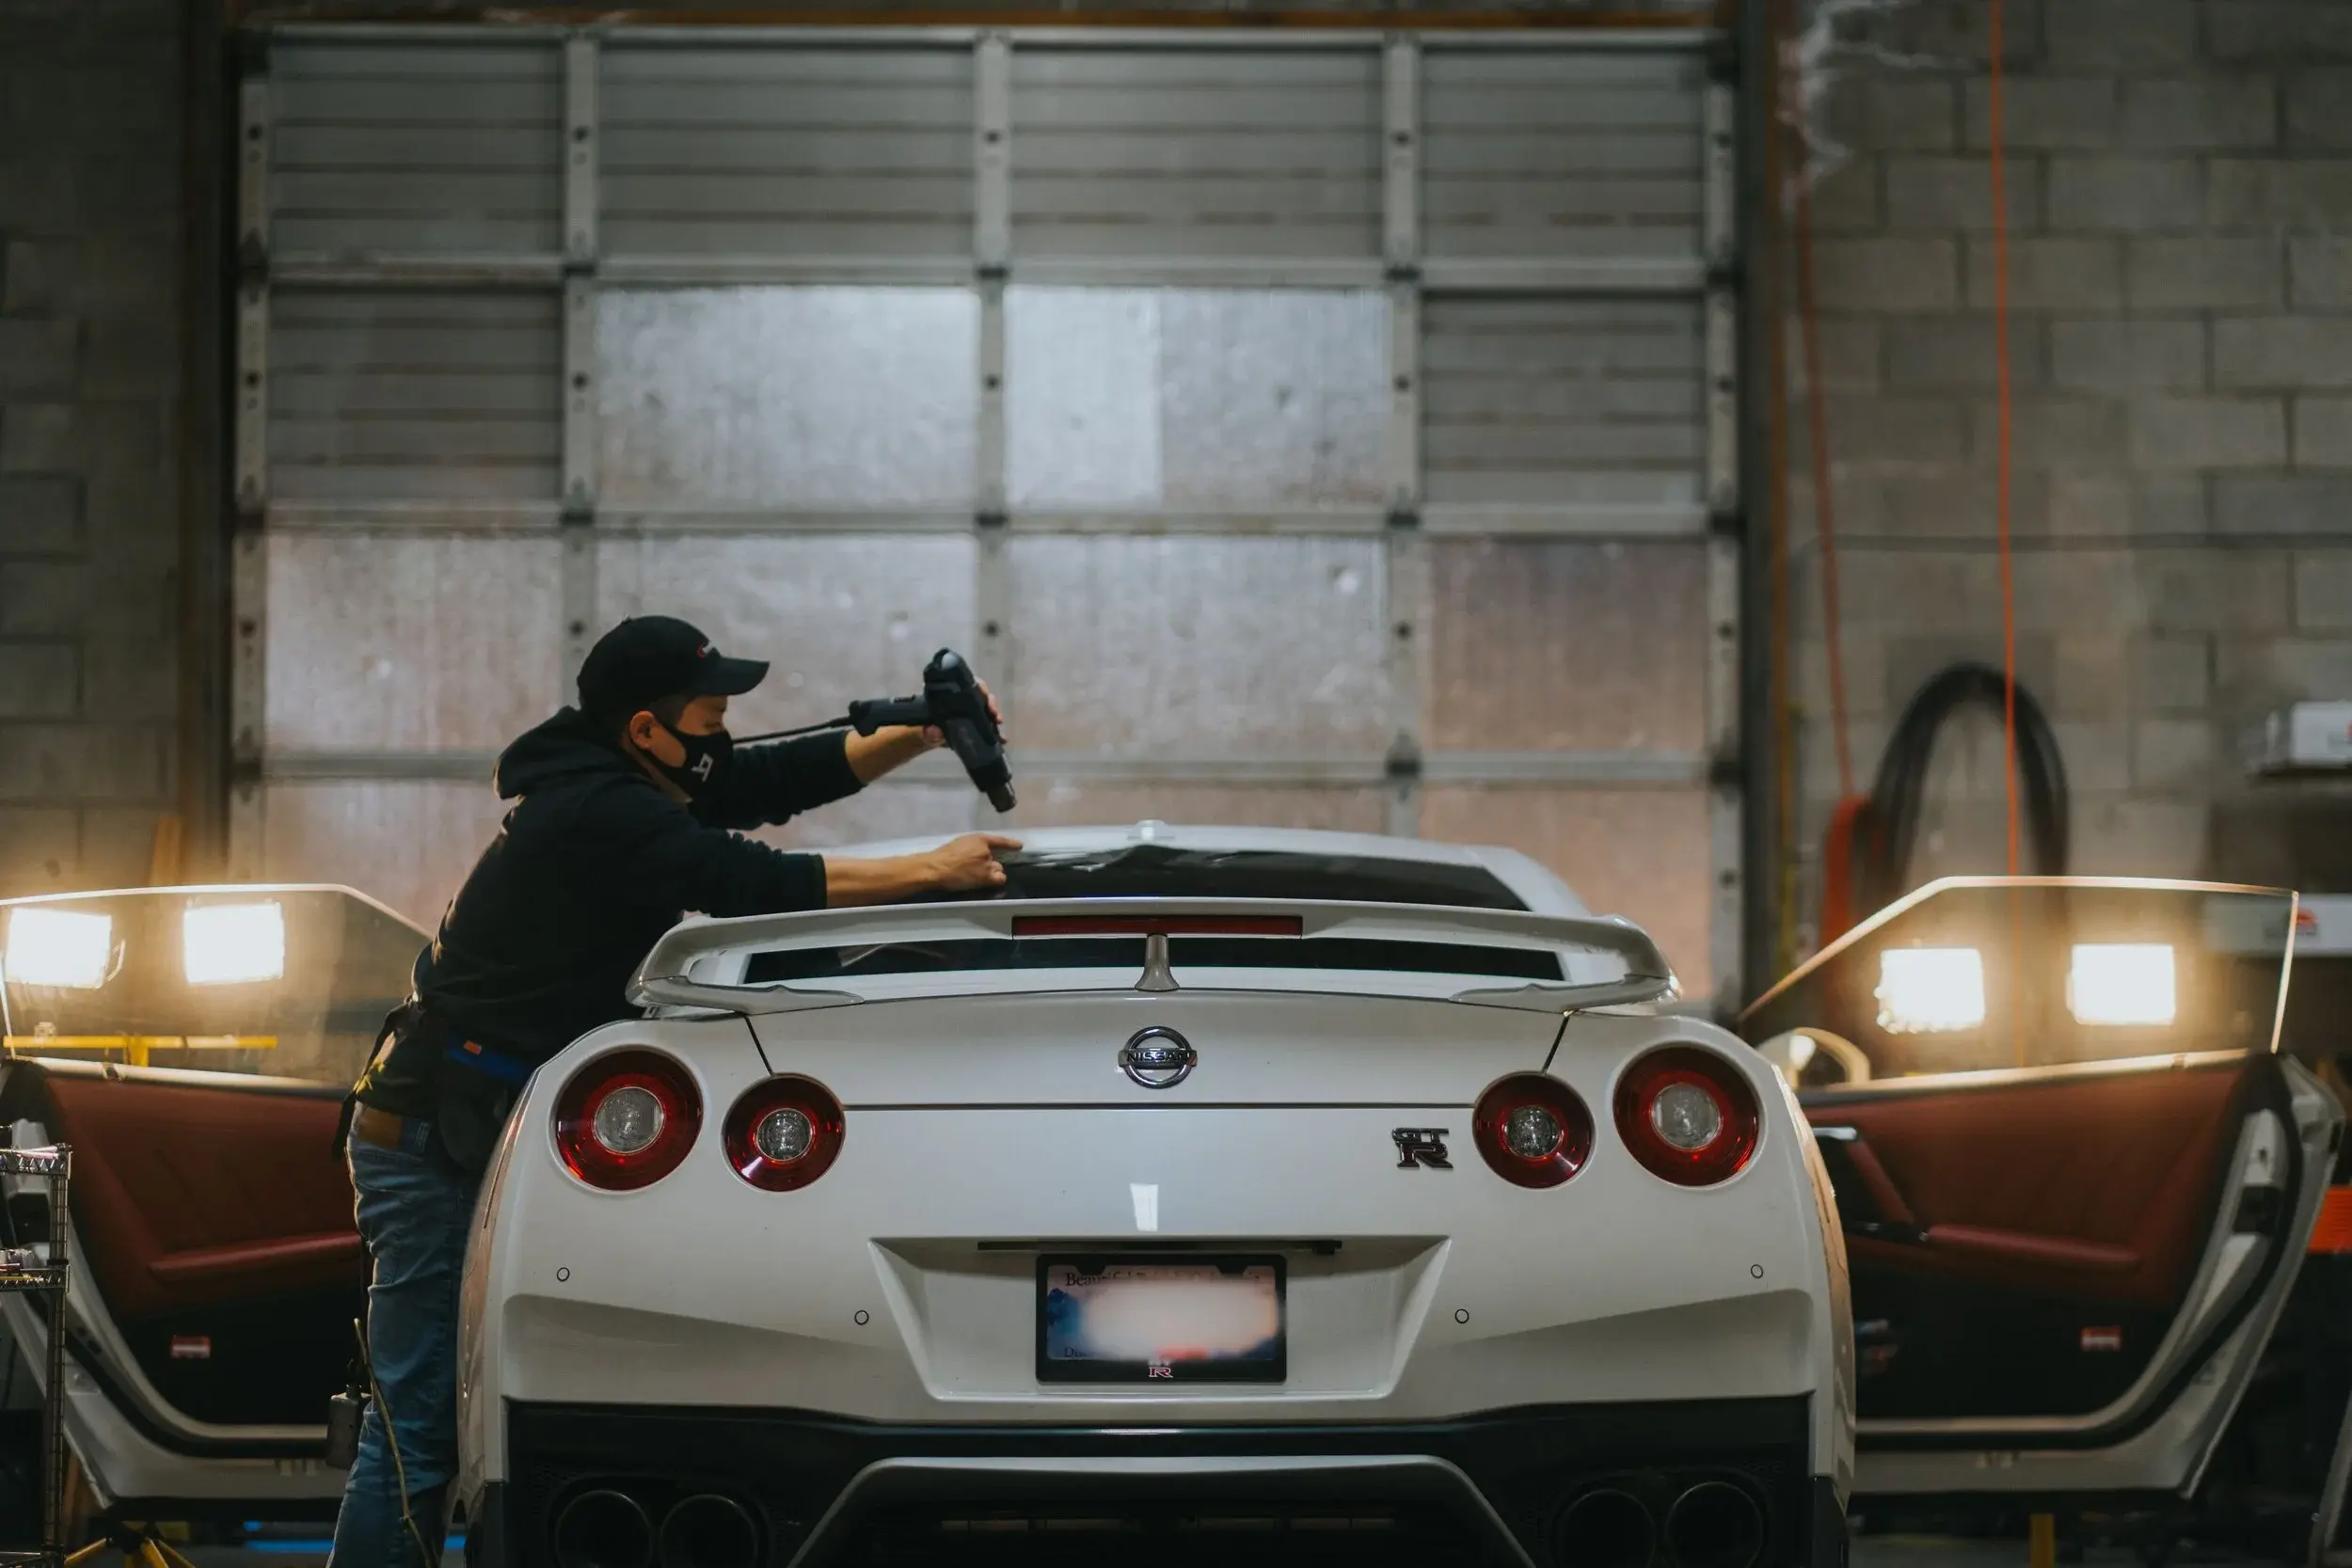
Why does a razor blade damage a rear defroster?
Because the defroster lines are on the inside face of the back glass, the same face the film is stuck to. Scraping film off with a blade drags the edge straight across them.
Carmakers warn about exactly this. A 2023 Kia owner’s manual for Canada tells owners never to clean the rear window with sharp instruments or abrasive cleaners, to avoid damaging “the conductors bonded to the inside surface of the rear window.” Mazda’s CX-5 manual gives the same warning about sharp instruments and abrasive cleaners, saying they “may damage the defogger grid inside the window.”
Each line carries current across the glass and heats the band of glass around it. Once a line is scraped through, current can’t get past the cut, and that band stays fogged or frosted while the rest clears. Some cars carry more than the grid on that glass: Polestar’s manual for the Polestar 2 says the car’s radio antenna is inside the rear window, a setup covered on EV window tint. A blade doesn’t know which line is which.
How does steam removal keep the grid intact?
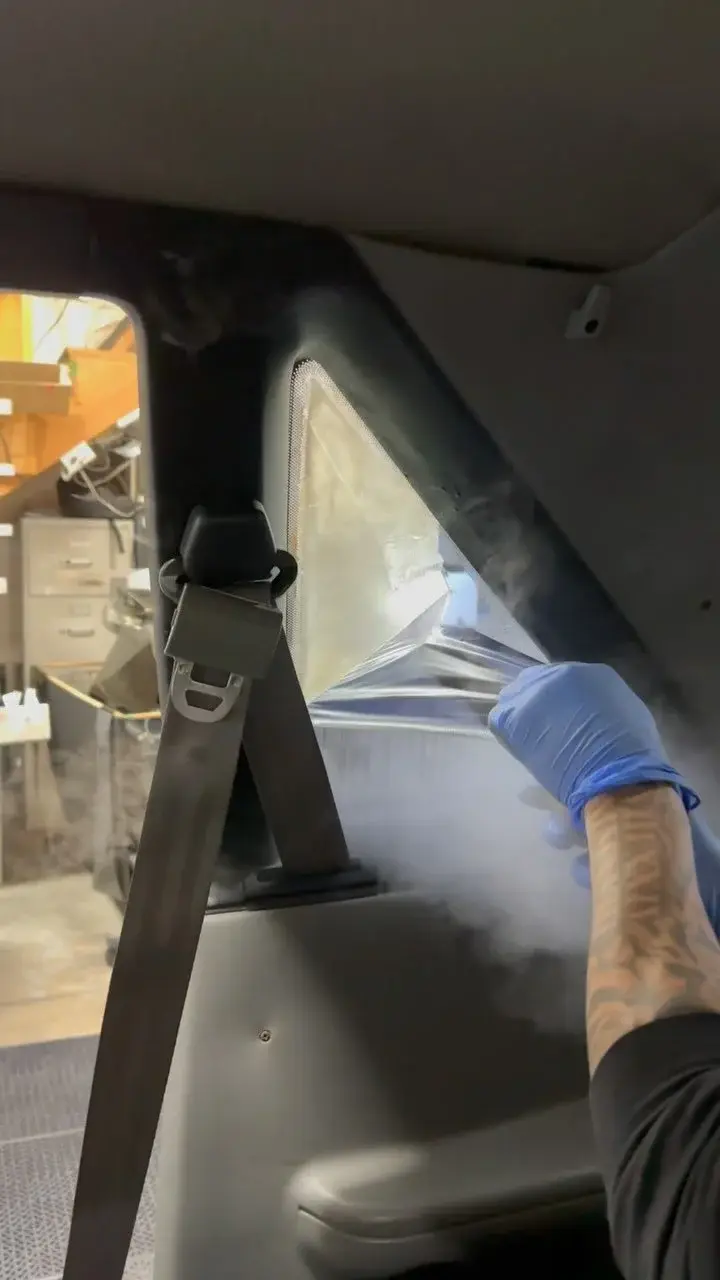
Steam warms the old glue until it loosens its hold, so the film comes away without anything being cut or scraped off the lines. The shop does rear glass this way only.
Testing the grid before work starts
The defroster grid and any antenna in the glass are checked first, so you know their condition before anything is touched.
Covering the rear deck and seats
Steam and condensation run down the inside of the back glass, so the rear shelf, the seat backs and the trim beneath the window are covered before the steamer comes out.
Steaming the film loose
Steam goes on in passes across the whole pane. As the glue softens the film lifts away from the lines rather than being pried off them, and a stubborn corner gets more heat and more time, never a fingernail or a scraper.
Dissolving the old adhesive
On back glass the leftover glue sits on and between the grid lines, exactly where a blade would do damage. It is dissolved and wiped away instead, until the glass and the lines are clean enough for new film to sit clear.
Testing again on clean glass
With the film and glue gone, the grid and any antenna are tested a second time and compared with the first test, so you know the defroster works as it did when the car came in.
What goes wrong when rear tint is scraped off at home?
Two things, usually: cut defroster lines from the blade, and a layer of old adhesive left on the glass. The first can’t be undone by fitting new film, and the second makes new film look cloudy.
- Razor blades and scrapers cross the grid lines on every stroke, which is exactly what the Kia and Mazda manuals warn against.
- Abrasive pads and gritty cleaners wear at the same lines more slowly; both manuals name abrasive cleaners alongside sharp tools.
- Peeling without softening the glue tends to leave adhesive stuck to the glass, which then has to be removed before any new film can go on.
- A glass-mounted antenna sits in the same danger zone as the grid on cars that have one.
If you’ve already started and a stripe of the defroster no longer clears, say so when you book. The shop tests the grid before work begins, so a line that was already damaged is noted on the way in.
Does old film on the back window cause legal or inspection trouble?
It can, once it’s bad enough to block your view. In the 2025 Vehicle Inspection Manual, item 14a rejects a back window clouded to the point that the driver loses a clear view 60 m to the rear, and badly bubbled or peeling film can get there.
Darkness by itself isn’t what the regulation limits. MVAR s. 7.05(8) allows film on the rear window at any shade when the vehicle carries outside mirrors on both sides. Item 14c of the manual looks at back-glass film too, failing it when a side mirror is missing, when the tint is the reflective type or isn’t allowed under ANSI/SAE Z26.1, or when the driver’s normal vision is materially impaired. Failed film that has turned cloudy is a different matter from dark film, and removing it fixes the view problem. When the fault is bubbles, the bubbling tint removal page explains what has failed; when it’s colour, the purple tint removal page does.
How long does rear window tint removal take and what does it cost?
A removal job takes 1 to 3 hours at the shop, depending on how many windows are involved and how badly the old adhesive has failed. A single back glass with film that lifts cleanly sits at the short end; a full car of decade-old film with baked-on glue sits at the long end.
Removal is priced per window, so the back glass on its own costs less than the whole car. Re-tinting at the same appointment brings the removal price down, and on most cars both happen in one day. No fixed removal price is published, because the glue and the glass decide the work. List the windows on the tint removal quote form, or text 604 534 6433 with photos of the film.
What should go back on the rear window?
LLumar film, cut on the plotter from your car’s pattern, with lifetime cover on both film and labour. Every posted rear package includes the back glass. In ATC dyed film they run $220 (coupe), $240 (sedan or pickup) and $260 (the seven-window SUV and wagon package), with ceramic IRX or AIR extra per package.
Back window tint lays out the three rear packages and why that glass is the full legal set in BC. For a sedan’s curved back glass in particular, see sedan window tint; for work vans with heated rear door glass, see van window tinting. Once the new film is on, the same care protects both it and the grid underneath: clean it using an ammonia-free cleaner and a soft microfibre, and keep blades and abrasive pads away from it.