How does a DIY tint kit compare with professional tint?
A kit gives you the film and the instructions; a shop gives you the finished windows and someone to answer for them. The table uses Gila’s own instructions and warranty as the DIY example, since Gila comes from Eastman Performance Films, the same company behind LLumar.
| DIY kit (Gila as the example) | Shop install, Brookswood Tint | |
|---|---|---|
| How the film is cut | Utility knife on the outside of the glass, using the dot border as a guide | Computer plotter, cut for the year, make and model |
| Curved rear glass | Laid in 6-inch strips that overlap slightly | One piece, heat-shrunk to the curve |
| Conditions to work in | Shaded, well lit, dust-free; above about 4 °C for three days | An indoor bay |
| People | Gila says two make it easier | Trained installers |
| Before windows go down | A week to 10 days | 3 to 5 days |
| Film warranty | 2 years, or 3 for Heat Shield Elite; replacement film only | LLumar lifetime limited warranty |
| Labour if the film fails | Not covered | Lifetime workmanship warranty from the shop |
| Your time | Your own, window by window | Drop off; most cars back the same day |
| Price | The kit, plus the tools sold separately | Rear glass from $220 in LLumar ATC |
The film itself can be decent either way. What separates the columns is how it’s cut, how it meets curved glass, and who carries the risk if it goes wrong.
What does a DIY tint kit ask you to do?
Clean the glass, cut each piece on the outside of the window, move it inside and squeegee it down, one window at a time. Gila’s own instructions show how much of that happens with a blade near the glass.
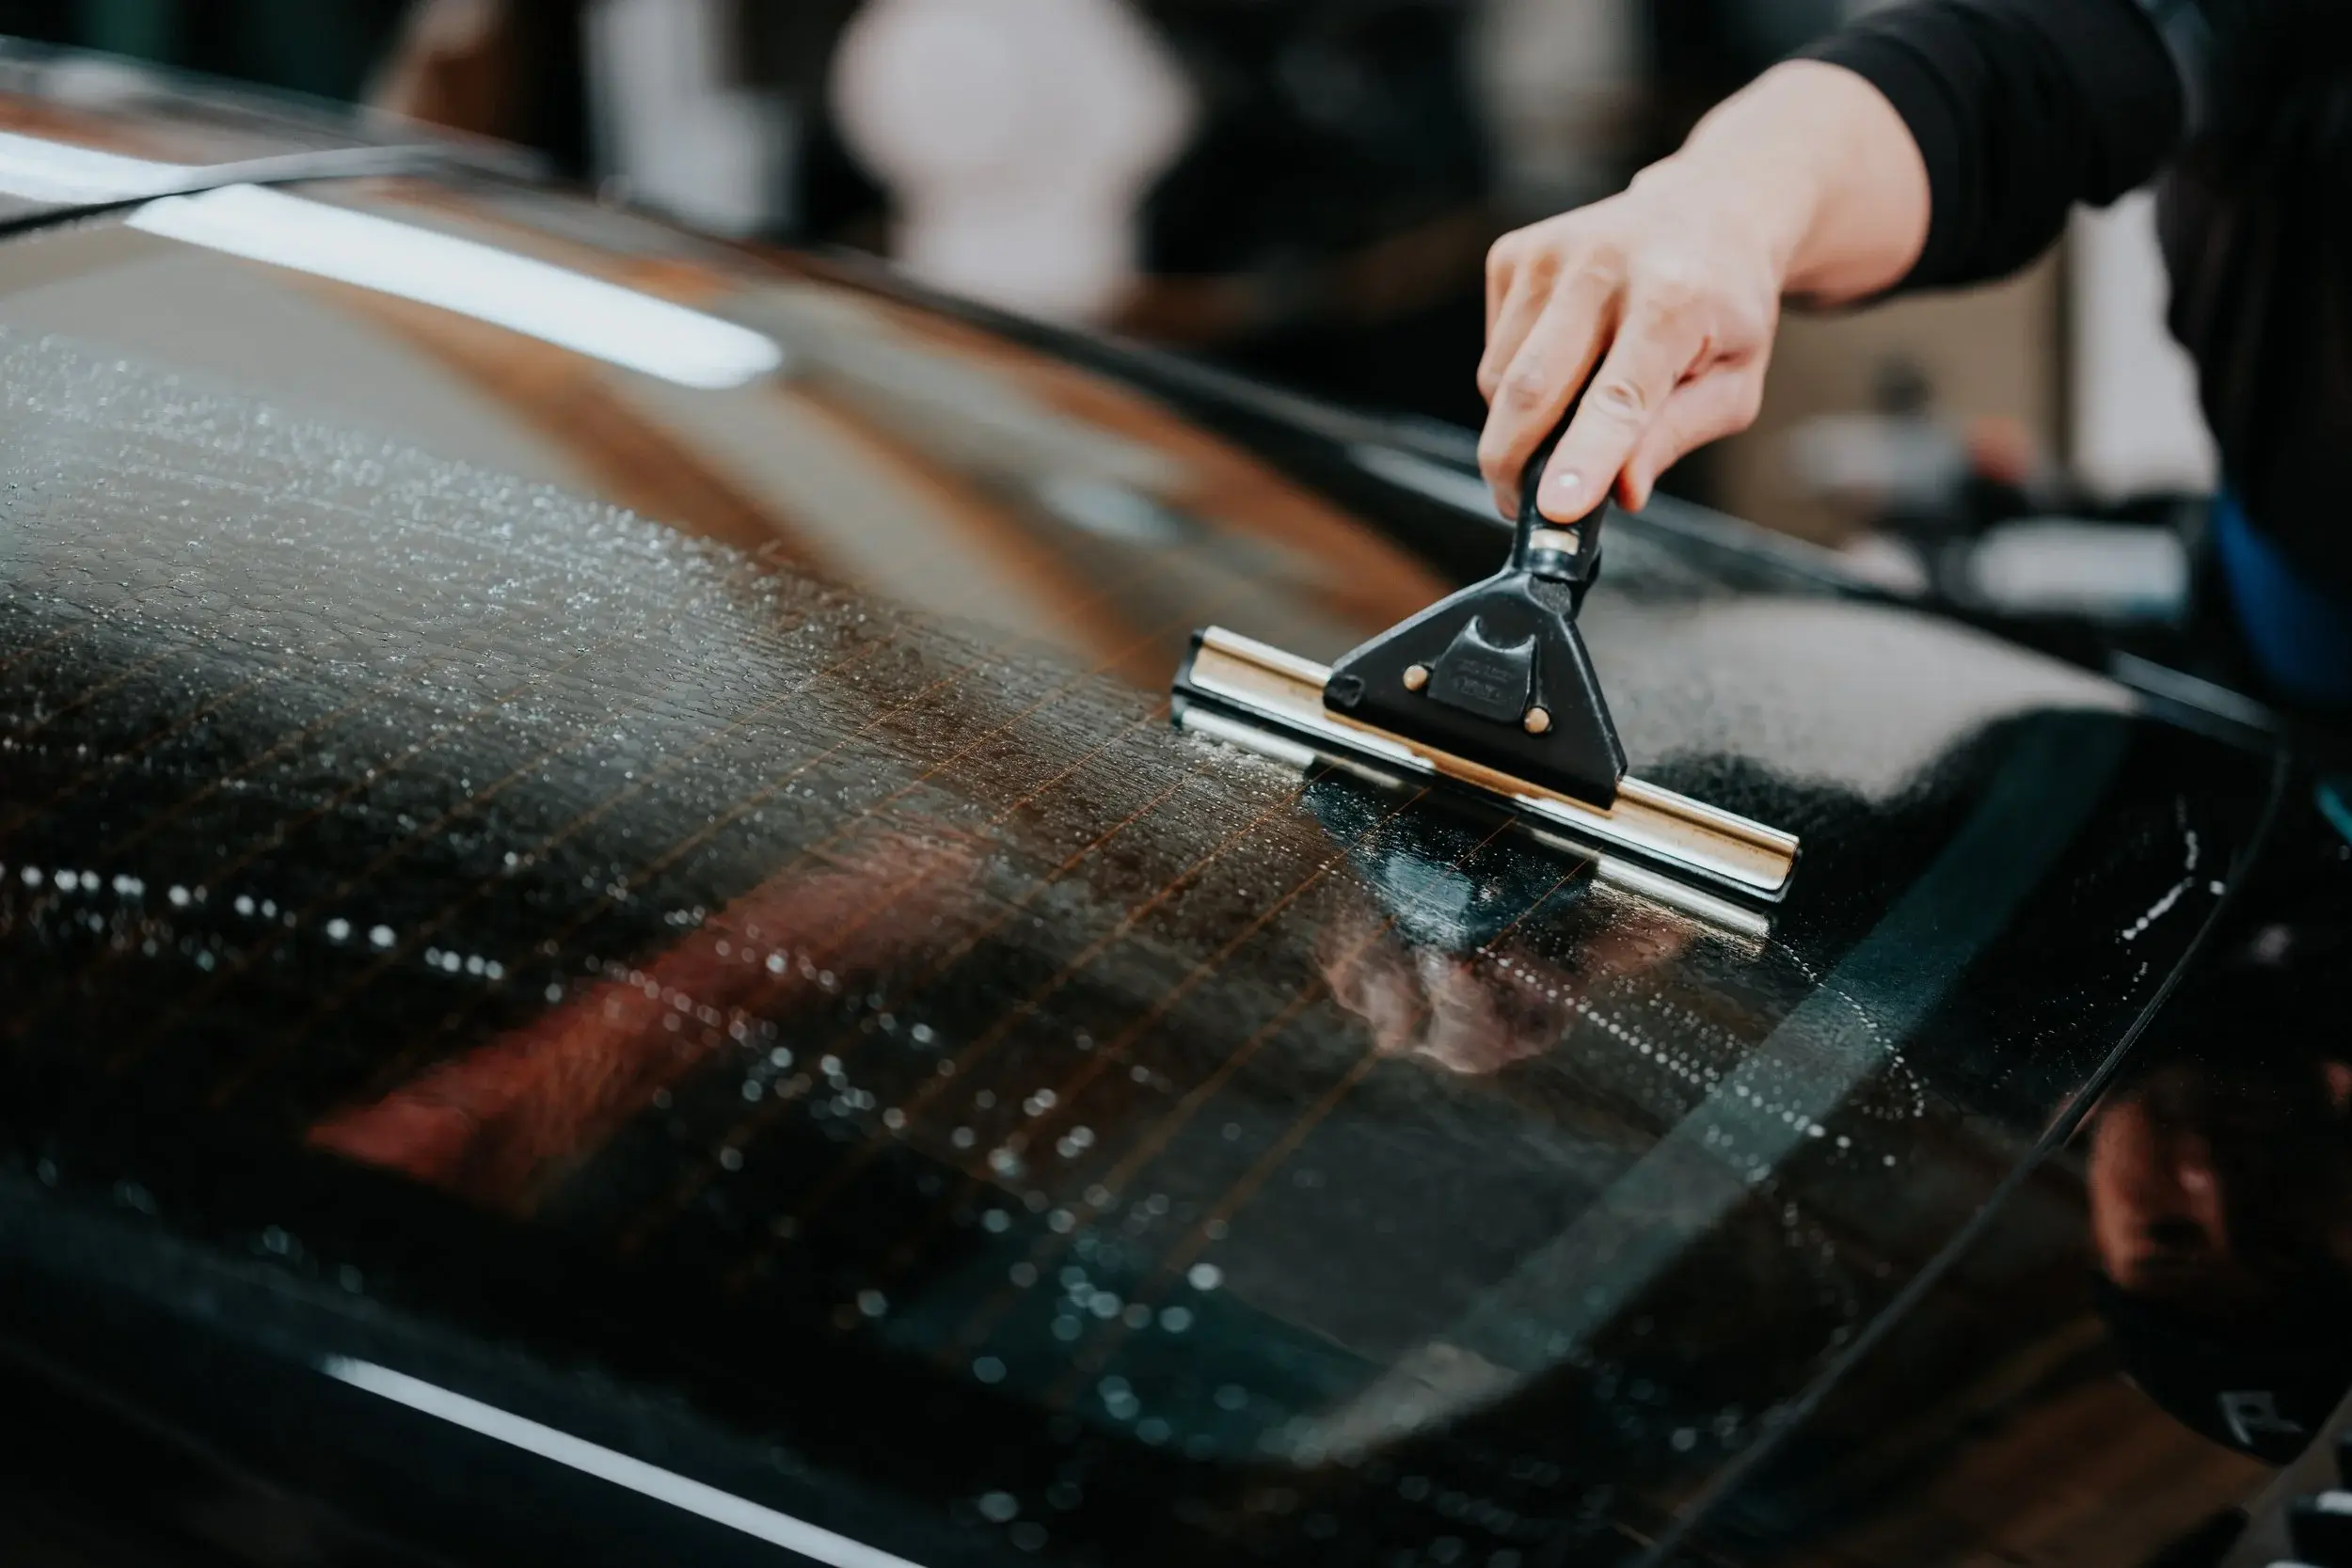
Gila’s rear window instructions start with cleaning both sides of the glass with application solution and a razor blade, with a caution not to use a razor or any sharp tool on the inside of glass carrying printed defroster or antenna wires. Film is then laid on the wet outside of the window, liner facing out, and trimmed with a utility knife along the dotted border at the glass edge. The instructions say to change the blade after each window, to cut a window in the film around the third brake light so it isn’t dimmed, and to start on the smallest flat window to get a feel for the film.
Conditions matter too. Gila asks for a shaded, well-lit, dust-free space, temperatures under 38 °C that will stay above about 4 °C for at least three days, and a second pair of hands. In a Fraser Valley autumn, that usually means a garage. Its automotive FAQ adds that adhesive film can’t be reinstalled once it has bonded to the glass, so a mistake on the last strip costs a fresh piece.
Why is curved rear glass the hard part?
Most modern rear windows curve both top to bottom and side to side, and flat film won’t lie on that shape in one piece without help. DIY instructions solve it with strips; professionals shrink the film to fit.
Gila’s FAQ is direct about it: on compound-curved windows, “one piece of film cannot stretch to cover a compound curved surface,” and it says usually only the rear window is affected, though some vehicles have curved glass in the rear side windows too. Its fix is to cut the film into 6-inch strips, lay them side by side across the glass, and overlap them by about 1.5 to 3 mm in the middle.
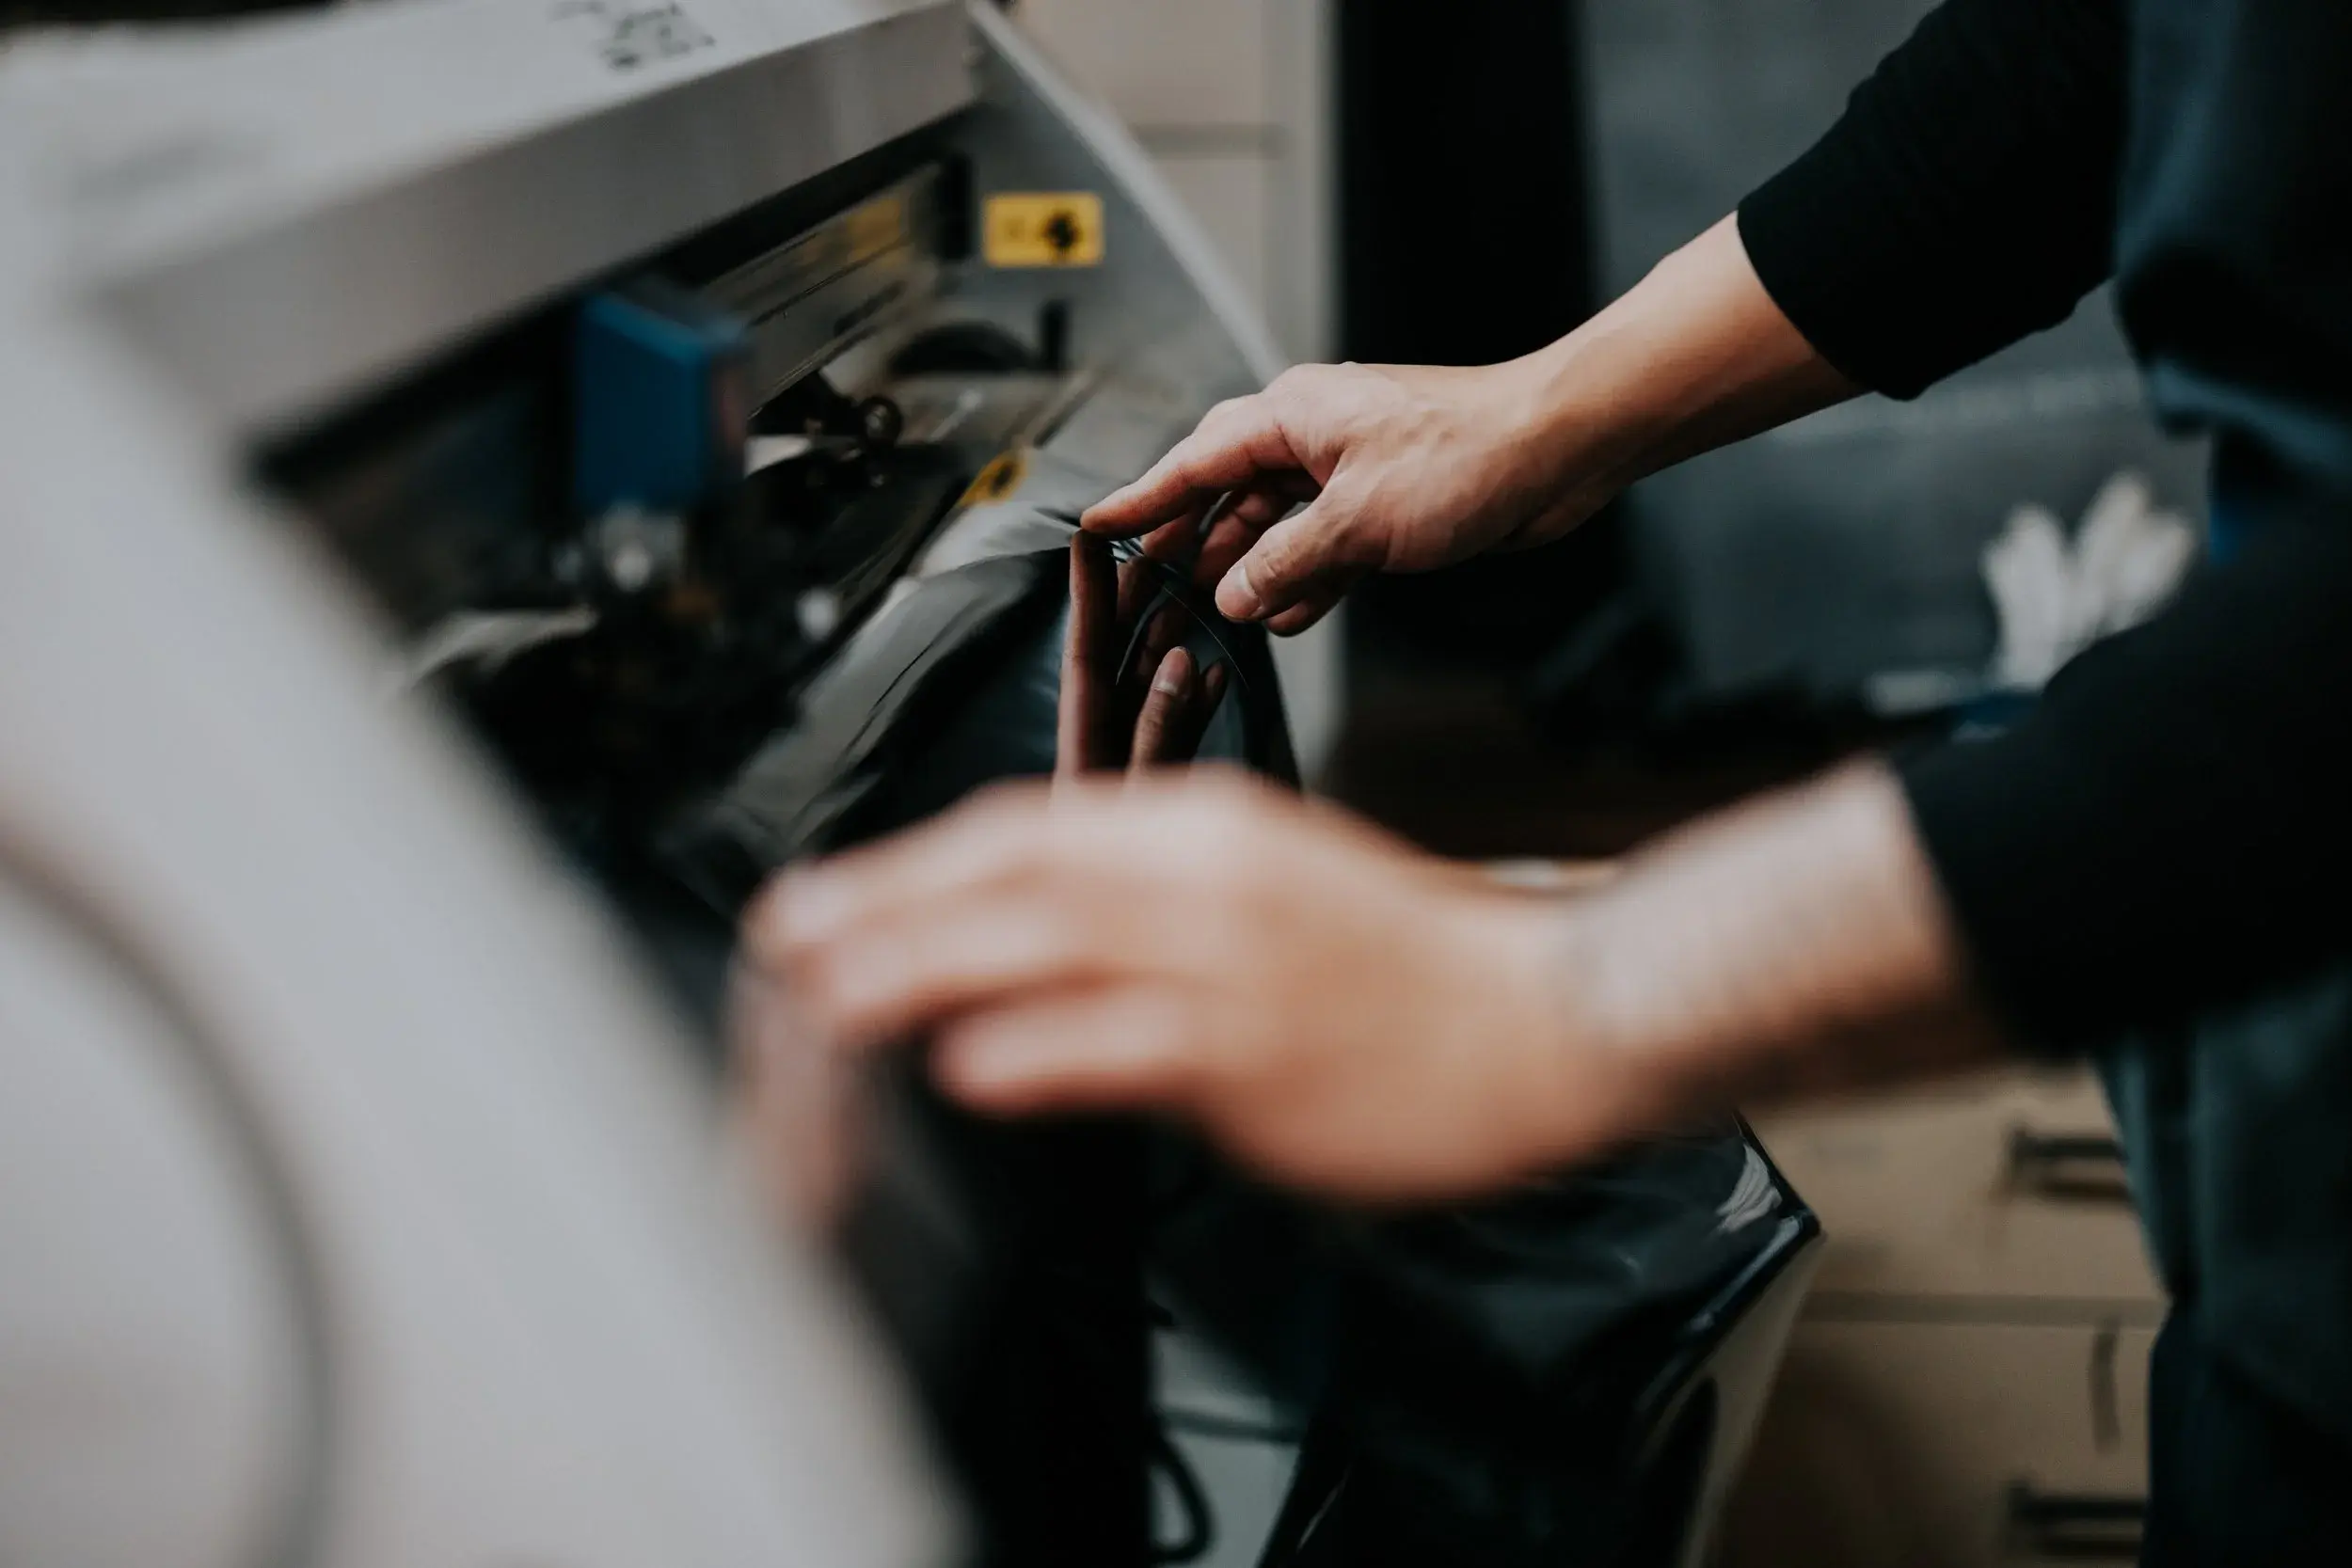
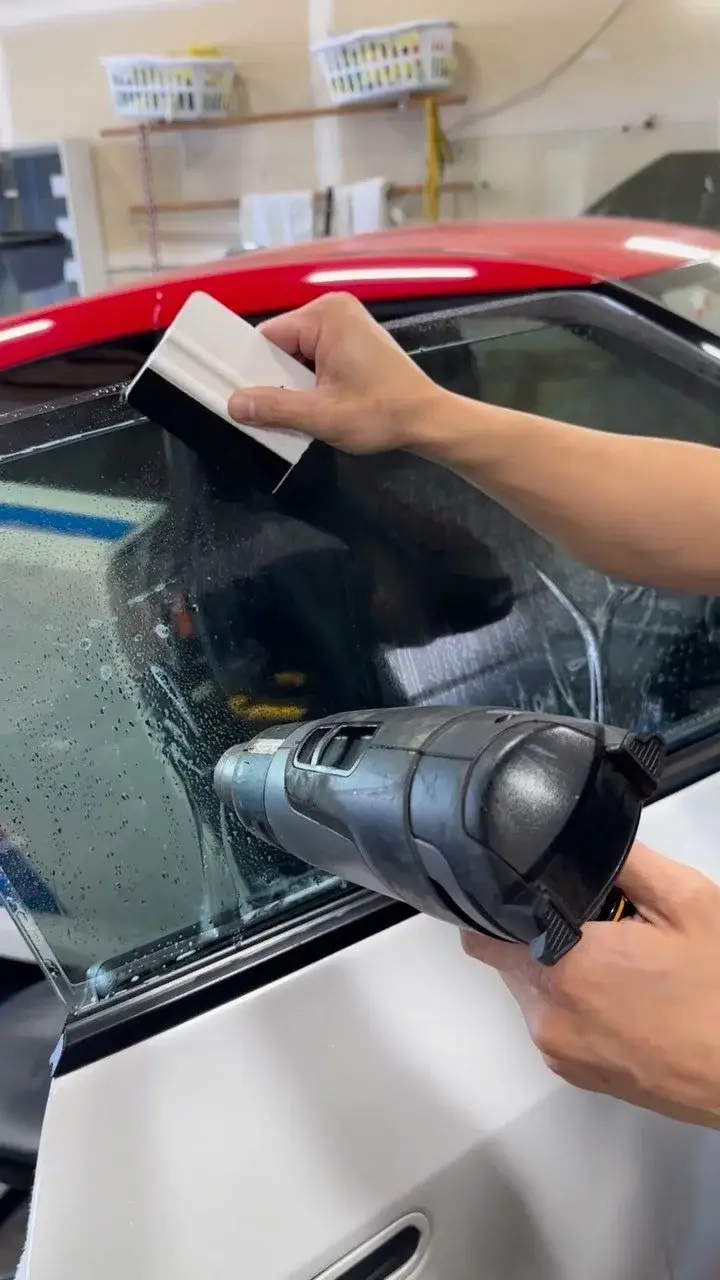
A shop handles that glass differently. At Brookswood Tint, the rear window’s piece comes off the plotter already shaped to the car’s pattern, then it’s heat-shrunk on the outside of the glass until it matches the curve and fitted inside by hand as a single sheet. The technique is explained on heat shrinking, and the cutting side of the comparison on plotter-cut vs hand-cut window tint.
What happens when a DIY tint job goes wrong?
Small water pockets usually dry out; trapped air and grit don’t. Once the film has bonded, a flaw usually means peeling that piece and cutting a new one, and a DIY warranty won’t pay anyone for the labour.
Gila draws the line itself: most small water bubbles dry out in a few days, but air bubbles “will not disappear without proper squeegee methods,” and an air bubble found after bonding may mean removing the film. Its limited warranty replaces defective film only, says the maker isn’t liable “for installation costs of replacement film or for removing the defective film,” and takes no responsibility for scratches or damage caused by improper installation.
When a DIY job needs undoing, the rear glass is the delicate part. At Brookswood Tint, failed film is lifted with steam instead of a razor, so the heating lines in the glass come through intact, and the old adhesive is dissolved completely. Removal is billed per window, costs less when you re-tint at the same time, and usually takes one to three hours. If you’re unsure whether a job needs redoing, check it against the signs of a bad tint job; the removal service itself is on tint removal.
How do DIY and professional tint warranties compare?
Both Gila and LLumar are made by Eastman Performance Films, and the two warranties show what the price gap buys. Gila covers film defects for a few years; LLumar’s cover runs for life and, when it applies, includes putting new film on.
| Gila DIY film | LLumar, fitted by a dealer | |
|---|---|---|
| Term | 2 years from purchase; 3 years for Heat Shield Elite | Lifetime limited warranty |
| Remedy | Replacement film | Removal and reinstallation of new film when covered |
| Labour | Not covered, nor removal of the old film | Included when the warranty applies |
| Conditions | Original purchaser only, with proof of purchase | Certain restrictions apply; see dealer for details |
| Workmanship | Your own | The shop’s lifetime warranty on its work |
LLumar’s tint FAQ says that when its film discolours and the lifetime limited warranty applies, LLumar’s team takes the old tint off and fits new film without charging for it.
Do BC tint laws treat a DIY job any differently?
No. BC’s rule is about the glass, not who fitted the film, so a kit on the front doors breaks the same regulation as a shop install would.
DIY packaging is mostly written for the US: Gila’s instructions tell buyers to check with their state police. In BC the rule is MVAR s. 7.05(8): rear side windows may be as dark as you like, the back window may be filmed when the car carries mirrors on both sides, the windshield may carry film only within 75 mm of its top edge, and the front door windows may carry none. Clear film and cling film are no exception. Gila’s rear window sheet also says outright not to apply its film to the front windshield.
Film on the front doors risks a ticket, typically $109 by Mission RCMP’s account, or a Notice & Order to strip the glass and pass an inspection. Front-door film goes on at the shop only at a customer’s request, after a plain talk about it being unlawful here and the trouble it can bring. More detail is on BC’s front-window rules.
DIY kit or professional tint: which should you choose?
A kit can make sense on simple, flat glass when you have the time, a clean garage and patience for a second attempt. For curved rear glass, defroster lines, or film you want to keep for the life of the car, a shop is the safer bet.
A DIY kit suits you if
- The windows you want to tint are small and flat.
- You have a clean, sheltered space and a dry week ahead.
- You’re comfortable with a knife near the glass and a few redone pieces.
- A short film warranty and no labour cover are acceptable.
A professional install suits you if
- The car has a deeply curved rear window or a defroster grid you want left alone.
- You want one piece of film on every window, with no seams.
- You want lifetime cover on both the film and the fitting.
- You’d rather have the car back finished in an afternoon.
Where Brookswood Tint stands on DIY tint
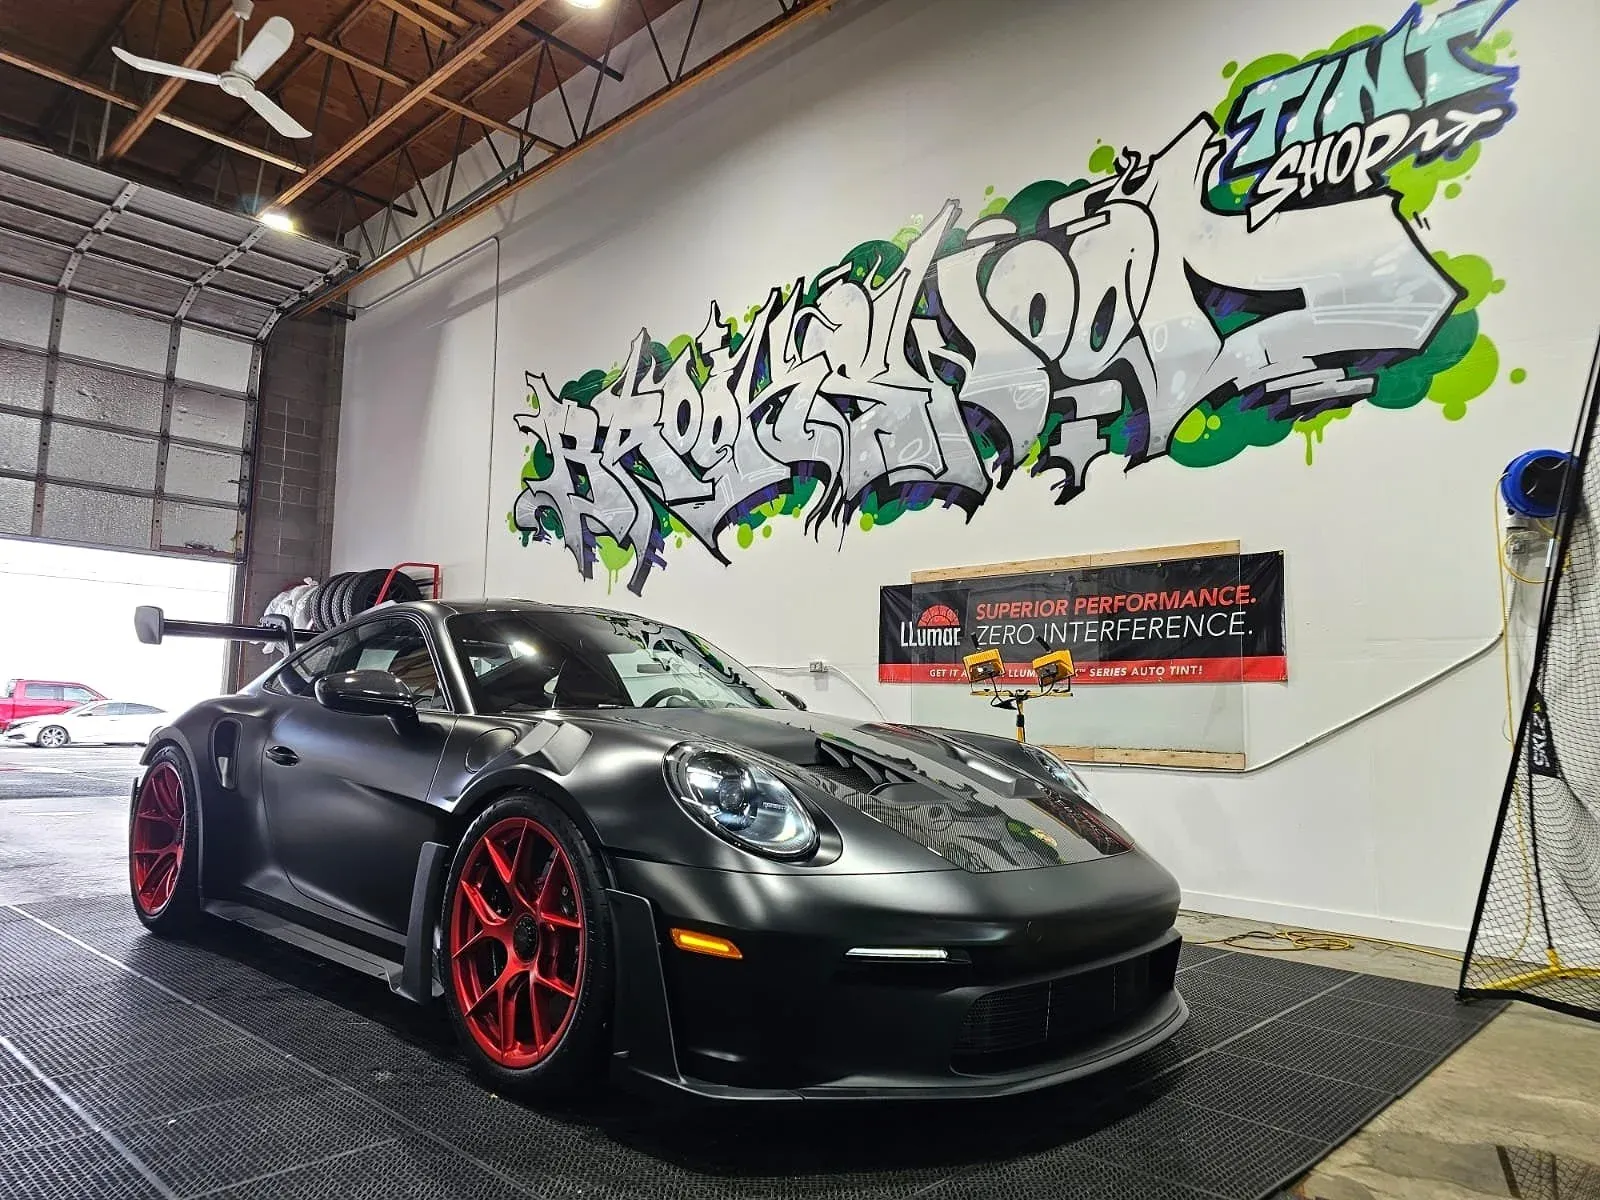
We understand the appeal, and a careful owner can do tidy work on flat glass. The part we’d steer DIYers away from is the rear glass: strips, knives and defroster lines don’t mix well, and a redo means paying for removal on top of new film. If you’d like the car tinted in a controlled bay instead, mobile vs shop tint explains why we work indoors.
What does professional tint cost in Langley?
In LLumar ATC, Brookswood Tint’s rear-glass prices run from $220 (sports coupe) through $240 (sedan or pickup) to $260 (full-size SUV or wagon). Moving up to IRX ceramic or near-clear AIR is priced per package.
Expect a few hours in the bay for a whole sedan or SUV and a same-day pickup, then keep the glass closed for three to five days. All the packages sit on window tint pricing. To book, fill in the tint quote form with your car and the windows you want, or text 604 534 6433; the shop at Unit 312, 20560 Langley Bypass is open Monday to Saturday, 9:00 to 17:00.