How does a DIY PPF kit compare with a professional install?
A kit gives you pre-cut film for a few easy pieces; a professional install covers the panels that take the hits, on paint that’s been prepared for it. The table sets one against the other.
| DIY kit (Tesla’s Model Y kit as the example) | Installed at Brookswood Tint | |
|---|---|---|
| What it covers | Two pre-cut pieces for the rear doors | Packages from Partial Front to every painted surface |
| Paint prep | Wash with car soap and water, then dry | Decontaminated, and corrected first where needed |
| Cutting | Pre-cut by the kit maker | Cut from software templates for the vehicle |
| Edges | Film stays on the panel face; none may hang over the edge | Wrapped around panel edges wherever the panel allows |
| Curved bumpers | Up to you | Relief cuts only where unavoidable, shown to you first |
| Film | Whatever the kit supplies | LLumar Platinum, self-healing, gloss or matte |
| Warranty | The kit maker’s terms | LLumar 10-year limited; covered defects in the shop’s list: yellowing, cracking, bubbling, peeling |
| Time | Your own | Partial Front usually 1 day; Full Front 1 to 2 days |
| Price | The kit | From $850 for Partial Front |
The two columns aren’t really rivals. A kit is built for the small spots it was cut for; a professional install is built for the front end, where stone chips happen.
What does a DIY PPF kit actually involve?
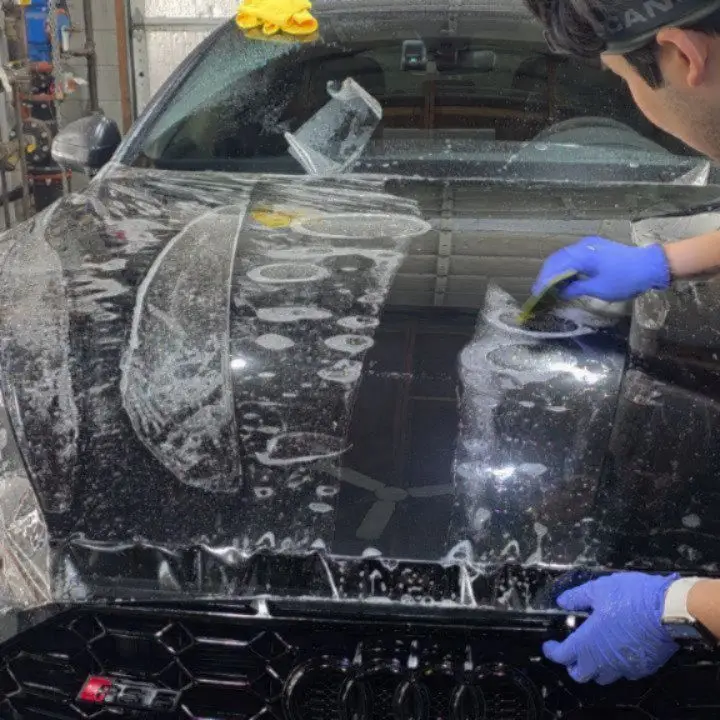
Clean the panel, wet it and the film with slip solution, slide the piece into place, and squeegee out the water and air. On a small, pre-cut piece, that’s a job a careful owner can manage in the driveway.
Tesla publishes the whole procedure for its own Model Y paint protection film kit. The area is washed with automotive soap and water and dried with a clean microfibre towel. The slip solution is roughly 15% baby shampoo and 85% water, sprayed liberally on the paint and on the film, with more added to the adhesive side as the backing comes off. The left piece goes on the rear door, its bottom lined up with the bottom of the door and its side with the end of the door, then the squeegee pushes out any bubbles, and the right side gets the same treatment.
Tesla adds two cautions: the left and right pieces aren’t interchangeable, and no part of the film may hang off the edge of the vehicle. That second rule says a lot about what kits are designed for. The pieces are cut by the carmaker for one spot on one model and stay inside the panel’s edges, which keeps the job within reach of an owner with a spray bottle.
Why are the front panels harder than a kit makes them look?
The bumper, hood and fenders are bigger, more curved, and judged by their edges. Film there has to stretch over compound shapes, wrap around panel edges, and meet the next piece cleanly, which is where training and patterns count.
It’s also where the damage happens. TranBC’s explanation of winter road abrasives caps each piece of highway winter grit at 9.5 mm, says a stone hits with nearly twice as much energy at 110 km/h as at 80 km/h, and lists chipped windshields and dinged paint as the result. The bumper face and the front of the hood take that grit first, so they’re where coverage and edges count.
At Brookswood Tint, every piece comes from vehicle-specific software patterns, and film is folded around panel edges wherever the shape lets it. If a bumper needs a relief cut, you’ll see exactly where before any film goes down. Why those choices matter is explained on wrapped edges and why PPF has seams.
Why does paint prep decide how the film turns out?
Film bonds to whatever is on the paint and shows whatever is under it. A kit’s wash-and-dry is enough for a small piece on a clean door; the front end of a car that has done some driving usually needs more.
LLumar’s PPF FAQ warns against wax or coatings ahead of film, since either can weaken the bond. The same page aims its film at original factory paint, leaves problems rooted in repaired or aftermarket paint outside the warranty, and puts the usual outgassing wait for a fresh respray at 30 days. Bare carbon fibre isn’t factory paint either, so LLumar’s warranty doesn’t extend to film on it.
So at the shop, decontamination comes before any film, and paint that needs correcting gets corrected first. Film protects the paint from here on; it doesn’t erase chips or swirls already there, which is the subject of will PPF hide existing rock chips.
What happens if a DIY PPF install goes wrong?
When a piece lifts, traps grit or goes on crooked, the usual remedy is a new piece. Taking film off has its own rules, especially in a BC winter.
Edges are the weak point on any install. LLumar says pressure washers and automatic washes can lift film, most often at the edges, and its limited warranty doesn’t cover that kind of lifting. For removal, it wants a professional working inside a building at 13 °C (55 °F) or above, never in a deep freeze, because cold film can part company with its own adhesive.
If you’re eyeing a fresh install and wondering whether it’s right, the checklist in spotting a bad PPF install helps, and whether PPF damages paint when removed covers the removal side.
How do warranty and aftercare compare?
With a kit, the warranty is whatever its maker offers on the film, and the workmanship is yours. With LLumar Platinum, the film warranty runs through the dealer that installed it, which here is the shop itself.
LLumar’s Platinum Gloss page describes a “10-year manufacturer’s limited warranty” with certain restrictions, sends buyers to the dealer for details, and says the top coat uses engine or sun heat “to reduce swirl marks and minor scratches.” The shop names four defects in its own published terms: yellowing, cracking, bubbling and peeling.
Aftercare is where the two sources differ slightly. Brookswood Tint says to hold off a week before washing; LLumar’s FAQ says three days. After that, stick to hand or touchless washing, aim any pressure washer well clear of the film’s edges, and avoid brush washes. The Partial and Full Front packages include headlights; before filming them on a car due for a BC inspection, know that inspection facilities in BC work from the 2025 Vehicle Inspection Manual, whose section 6, item 1.0(a) turns down a lamp lens covered by anything at all, so clear film can draw a question too.
DIY kit or professional PPF: which should you choose?
Use a kit for a small, flat spot the kit was cut for. Use a professional install for anything at the front of the car, or for any panel where you want the film to disappear.
A DIY kit suits you if
- The kit is pre-cut for your exact car and panel.
- The panel is fairly flat and the film stops short of the edges.
- The paint is clean, original and unwaxed.
- You’re comfortable redoing a piece if the first attempt goes wrong.
A professional install suits you if
- You want the bumper, hood, fenders, mirrors and headlights covered.
- You want edges wrapped rather than stopping short.
- The paint needs decontamination or correction before film.
- You want LLumar’s 10-year limited warranty and someone local to call.
Where Brookswood Tint stands on DIY PPF
A carmaker’s pre-cut door kit is a sensible thing to fit yourself. The front end is a different job, and it’s the one the shop’s packages are built around. What goes into a professional quote is broken down in why PPF is so expensive.
What does professional PPF cost in Langley?
Each LLumar Platinum package price is a starting point: a bigger vehicle, complex panels or paint that needs attention will raise it.
| Package | From | Covers | Usual time |
|---|---|---|---|
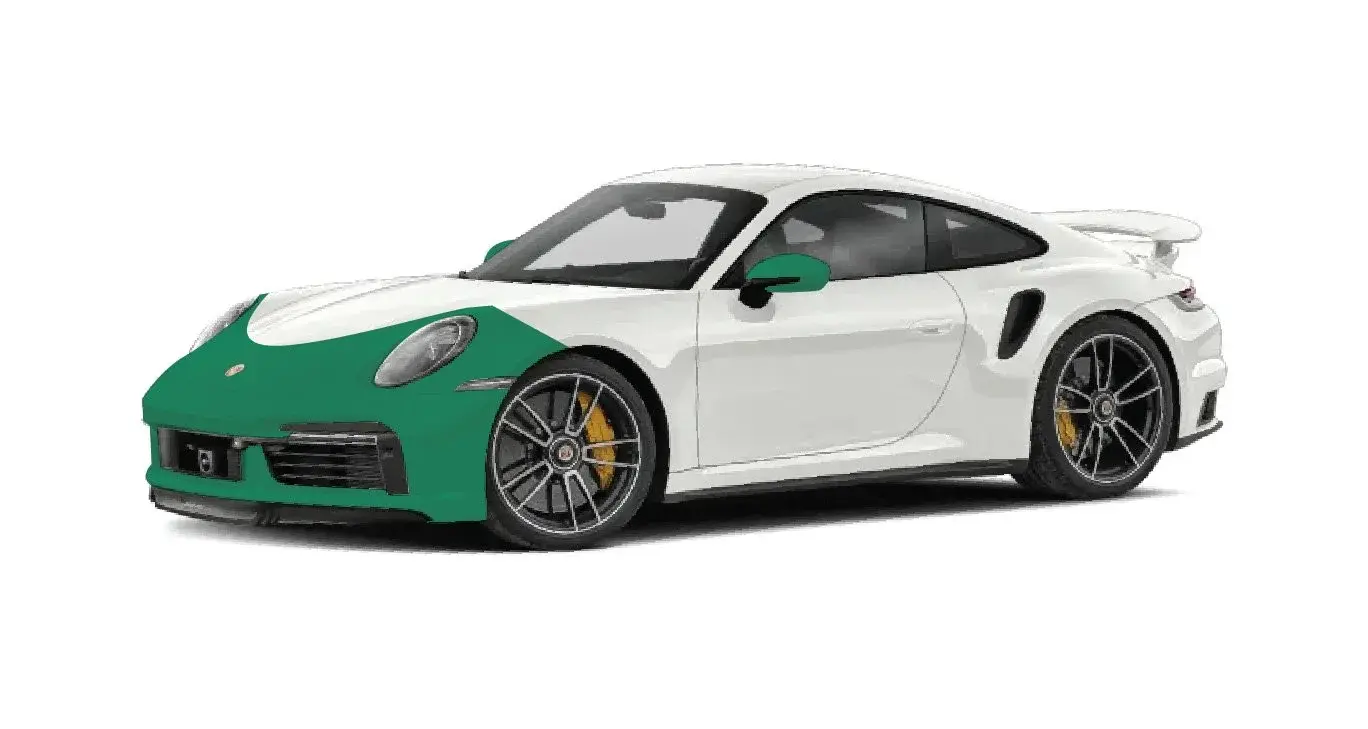
| Partial Front | $850 | Whole bumper, front section of hood and fenders, headlights, mirrors | Usually a day |
| Full Front | $1,550 | Entire hood, fenders and bumper, plus headlights and mirrors | One to two days |
| Track Package | $1,900 | Full Front coverage, A-pillars, rockers and some of the roof | One to two days |
| Full Vehicle | $4,000 | Every painted panel, plus headlights | Three to five days |
The Partial Front is the entry package. To get a number for your car, list the vehicle and the panels that worry you on the PPF quote form or text the list to 604 534 6433. The price factors are broken down on PPF cost, and the shop at Unit 312, 20560 Langley Bypass is open Monday to Saturday.